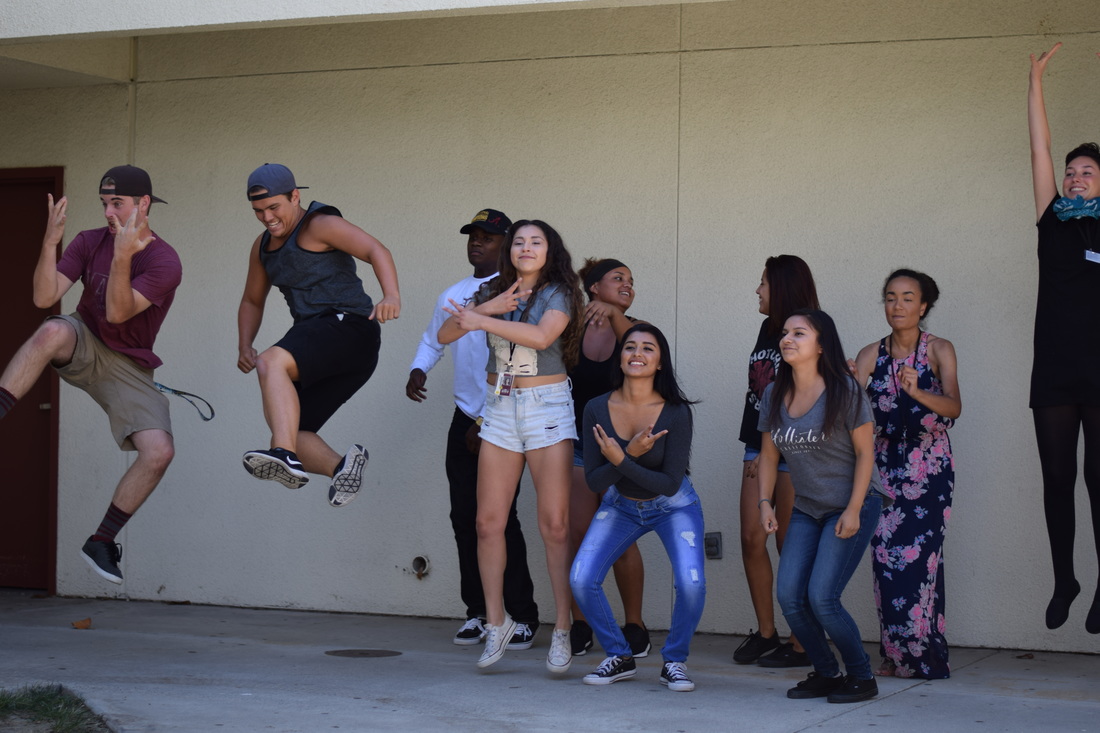
 Aperture f/1.8, Shutter Speed 1/1,000 of a second, ISO 100 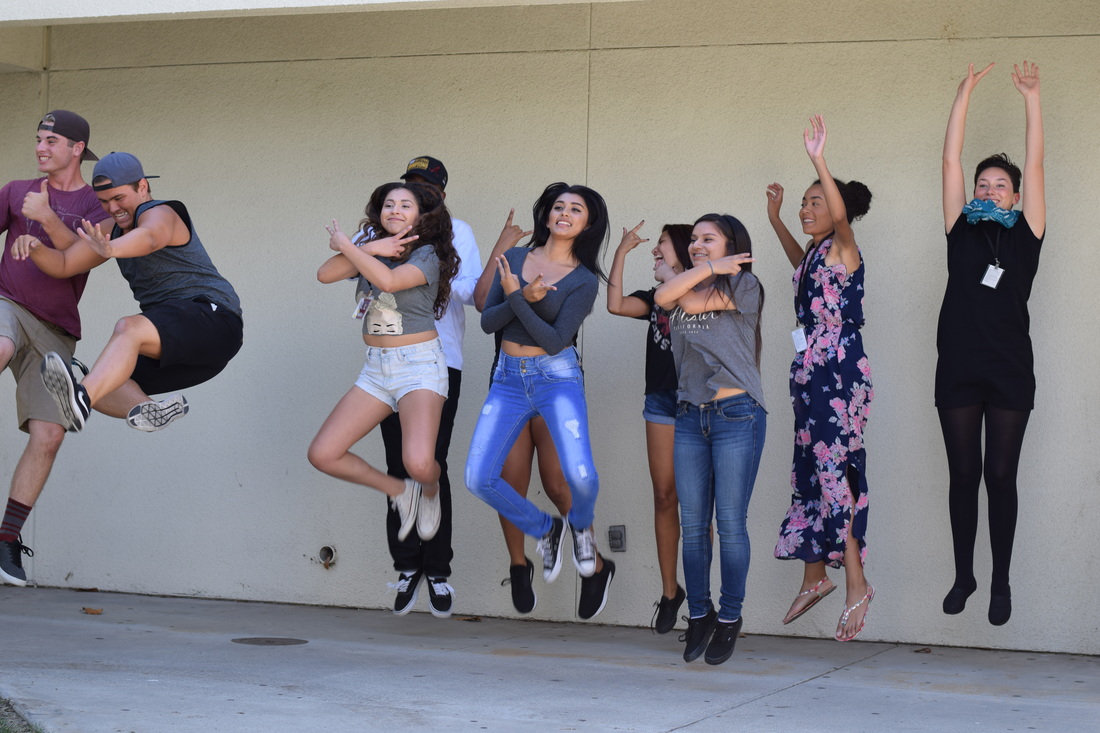 Aperture f/3.2, Shutter Speed 1/250 of a second. ISO 100 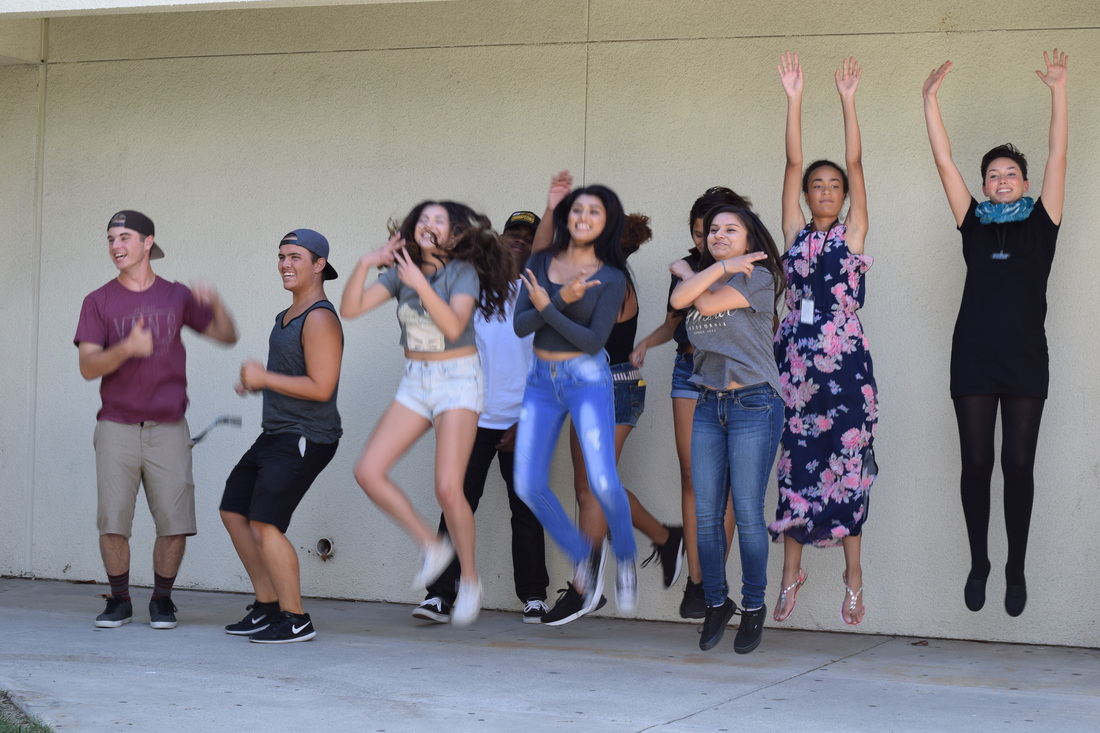 Aperture f/6.3, Shutter Speed 1/60 of a second, ISO 100 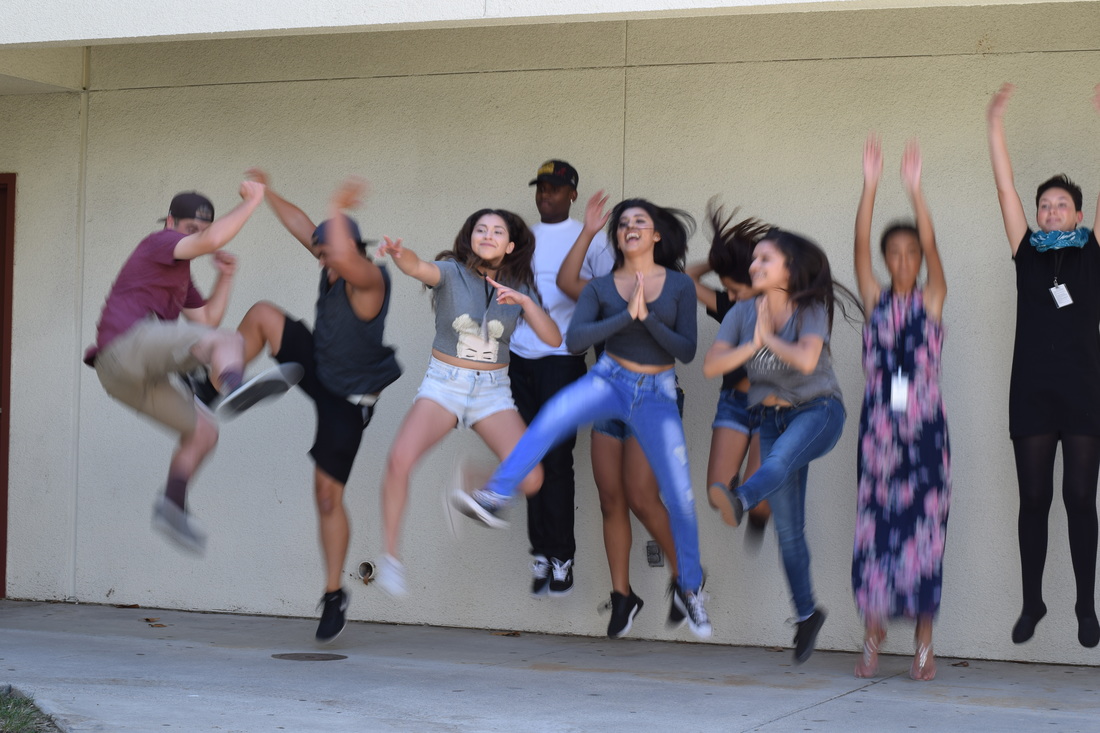 Aperture f/9, Shutter Speed 1/30 of a second, ISO 100 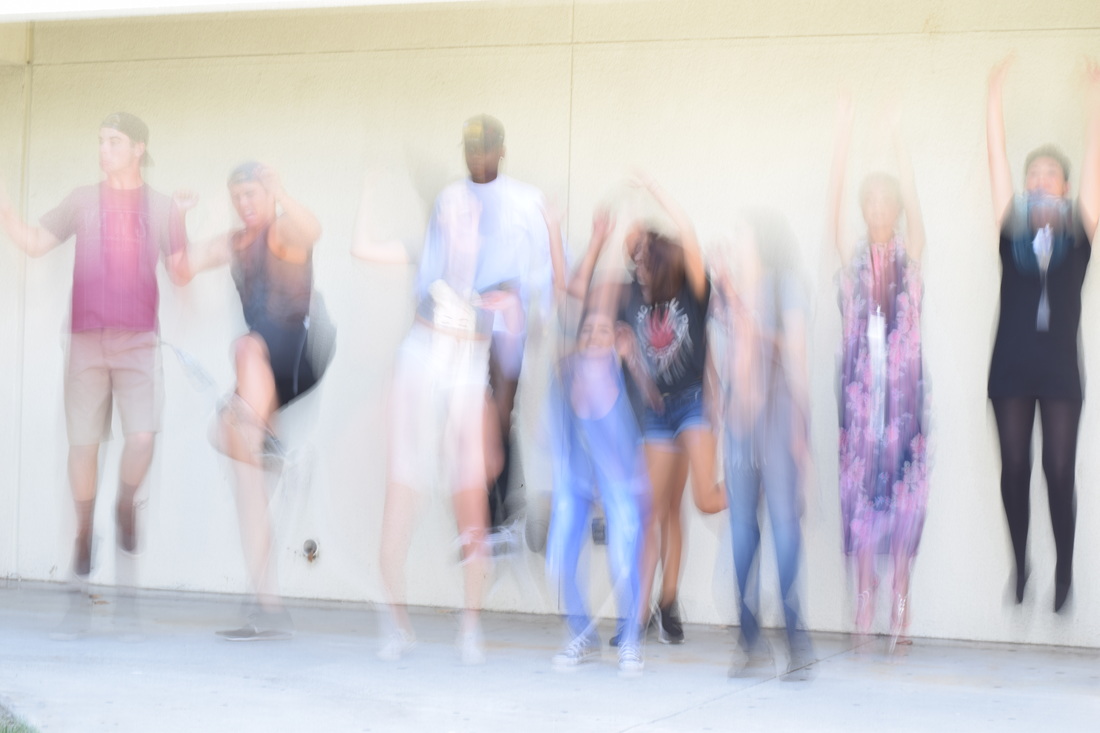 Aperture f/16, Shutter Speed 1/3 of a second, Iso 100 2. When changing the shutter speeds it changes the results of how the picture you take will look. When taking a photo with the shutter speed of 1/1,000 it will look as if the object in the photograph is frozen it will be focused therefore there won't be a blurry outcome. As you began to change the shutter speed to slower like for example at 1/3 of a second the photo taken will not come out focused it will in fact leave a ghost like trace. 3. I would want to use shutter speed priority when taking pictures of fireworks, and when trying to get a sallow depth of field in any picture. 4. Class Notes on Shutter Speed - Are both a technical and aesthetic choice a photographer need to make before releasing the shutter. -The shutter inside the camera controls the duration of time the sensor is exposed to light. - Capturing blur or motion can emphasize movement and add drama. - A fast shutter speed is usually utiliized a freeze the movement of a subject - A slower shutter speed can be used to show motion and visualize movement - Shutter speed are expressed as seconds or fractions of seconds(1/8000...ext ) - As a general rule to prevent unintentional camera shake you should avoid handholding your digital cameras at shutter speeds slower than (2x focal length) - Using a tripod can help eliminate camera shake when using slower shutter speeds. - The visual blur and suggestion of movement occurs because the subject is moving against a static background - Layering motion of different subjects moving different directions at different speeds can set up interesting dynamics within a photograph - Fast shutter speeds can make normal subjects appear to freeze in the air - When photographing people running relatively close to the camera a shutter speed of 1/1000 second or faster should freeze more motion - The distance the subject is from the camera, the speed if the subject. And the focal length of the lens will affect whether the subject is sharp or blurred. - Slower shutter speeds can help convey the idea of motion and movement - Slow shutter speeds combined with panning can help isolate the subject from a busy and distracting background - A tripod combined with a long exposure can capture the fireworks’ trails - Water movement can be emphasized with long exposure
0 Comments
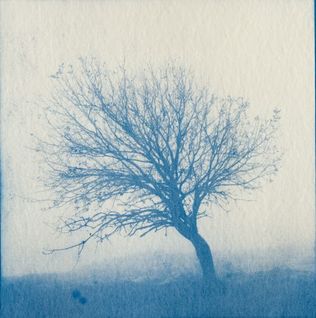 Cyanotype : The inventor of the Cyanotype was Sir John Herschel in 1842. The chemicals used in a cyanotype are Potassium Ferricy Anide and Ferric Ammonium Citrate. Cyanotypes became commonly known as blueprints in the 20th century. Step by step: Solution A: 25 grams of Ferric ammonium citrate (green) added to 100 ml water. Solution B: 10 grams of Potassium ferricyanide added to 100 ml water. Then in a darkened room we mixed the equal parts of solution A and B. The solution is now light sensitive and should be used immediately and stored in complete darkness. In the same darkened room we coated a piece of watercolor paper (90 puns worlds well) using a small paint brush and dry the paper using a hair dryer. The paper may be stored in a light-tight box for later use. Using the contact printing method expose to the paper to full sun for 15-20 minutes. the yellow emulsion should turn to a steel blue gray color. Exposure times very greatly depending upon the strength of the UV source and the density of the negative. Artificial light sources rich in Uv may be used with testing.   "A day at the park" - Aperture f/1.8, Shutter speed 1/4,000 of a second, ISO 400 One day Jerry and his father went to the dog park on nice afternoon. They began walking around as they happen to notice that jerry forgot the dog toys in the back of the car therefore his dad went back to the car to get the toys for them. Jerry began climbing on the rocks as his dad let the dog roam free, and he headed back towards the car.  "Caught my eye" - Aperture f/8, shutter speed 1/320 of a second, ISO 400 "Caught my eye" - Aperture f/8, shutter speed 1/320 of a second, ISO 400 Jerry got off the rock and started walking around. There was one tree that caught his eye, he stood right under it and noticed there was a green object up in the branches. He thought about climbing the tree since his dad was not back yet and he thought he would take a few more minutes.  "Consequences" - Aperture f/1.8 shutter speed, 1/4,000 of a second, ISO 400 As Jerry began climbing up the tree, he looked down and started to realize it probably wasn't a good idea because it was a really tall tree. He thought maybe he could climb up and down before his dad returned turned out he wasn't as fast. Jerry yelled for his father to return, he was afraid to fall off the tree and hurt himself.  " " - Aperture f/1.8, Shutter speed 1/4,000 of a second. ISO 400 His father returned quick, looking like crazy for jerry. He saw that their dog was barking up at the tree. As he looked up he noticed jerry was up there hugging the tree. He was scared and didn't know how to get back down. Jerry's father then called his friend that lived across the street for help because he could not do it himself.  "To the rescue" - Aperture f/1.8, Shutter speed 1/4,000 of a second. ISO 400 After a few minutes, his friend has arrived and asked what was going on, Jerry said from above the tree "we are having a little trouble ". Jerry was getting very anxious because he didn't know how to get down and he started to slip, loosing grip of the tree. They all calmed down and stopped to think of an idea of how to get jerry down safely. 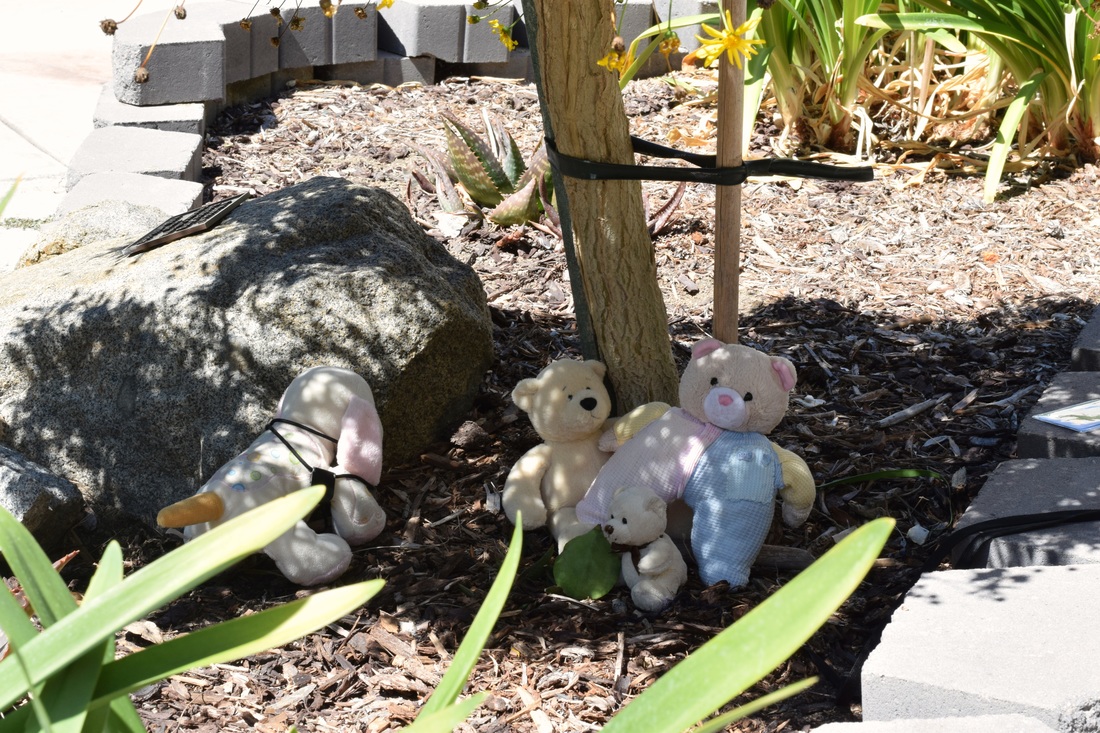 "Safe and sound" - Aperture f/16, Shutter speed 1/25 of a second, ISO 400 10 minutes later... they thought of an idea that got Jerry down from the tree. Jerry and his father were relieved that he was no longer up on the tall tree. Jerry told them he only climbed to get the green object. They had a little group hug right as he got to the ground. They then got their dog and started walking towards the car to go home after a long day
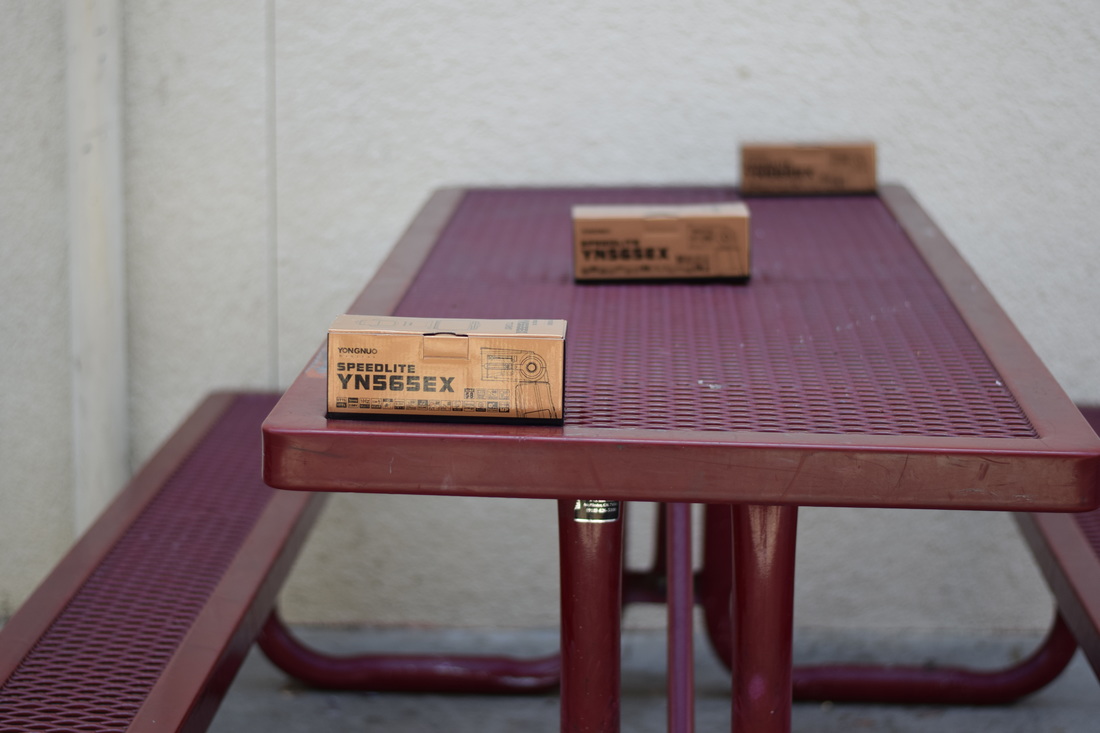 Aperture f/1.8, shutter speed 1/1,250, ISO 200 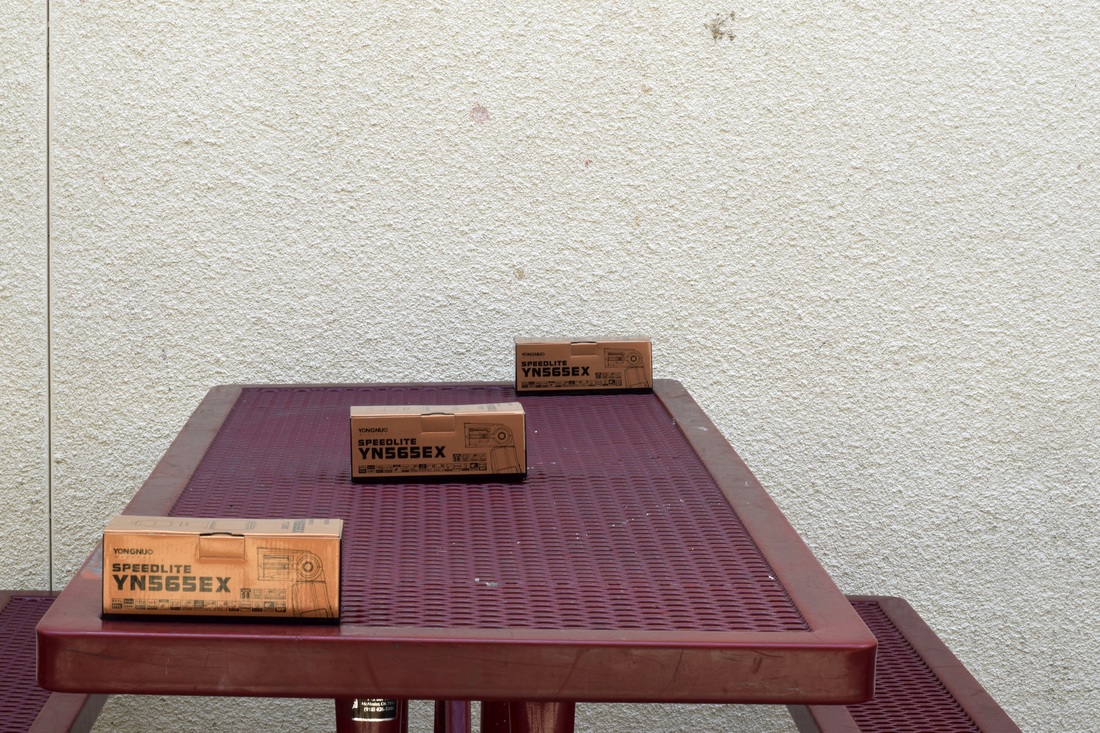 Aperture f/8, Shutter speed 1/80th of a second, ISO 200 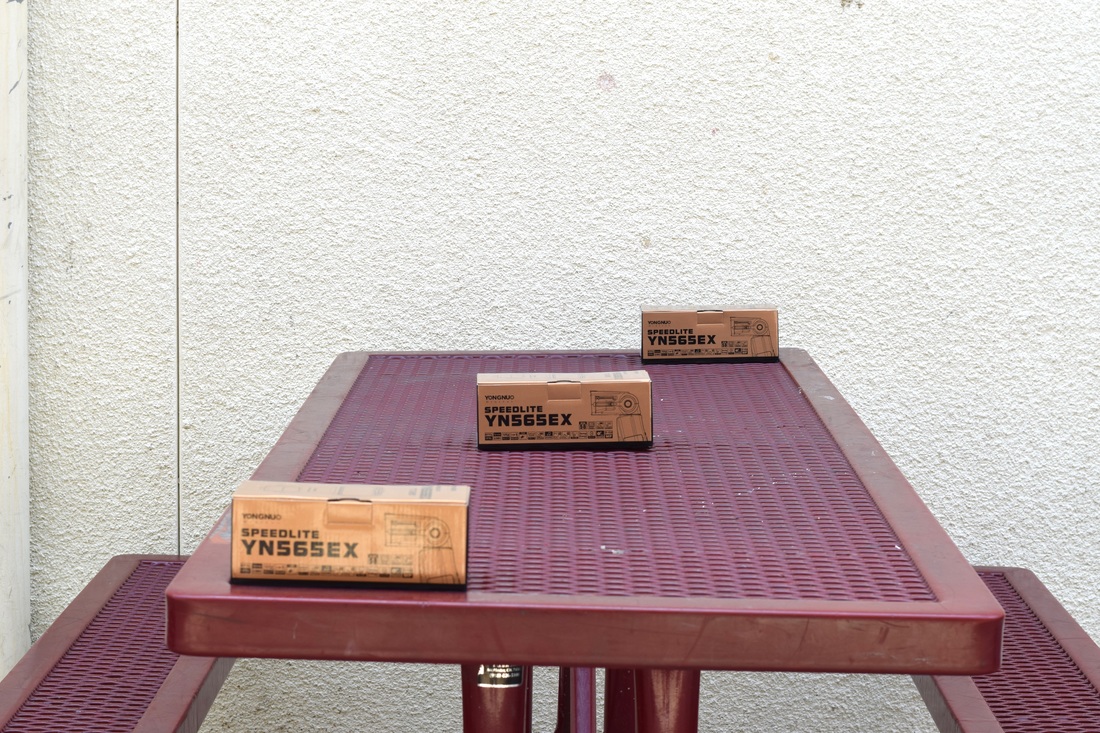 Aperture f/16, Shutter Speed, 1/25 of a second, ISO 200 From the photos taken of these boxes, I learned how the change of aperture can make a difference in the depth of field the aperture is known as "f-stops". The smaller the aperture the the more it is focused on the closer object. The smaller the f-stop the larger the aperture which increase the depth of field. When the aperture is larger it softens the background. I noticed the photos above have a different focus. The first photo's main focus was the box in front which blurred out the background, the second photo's main focus was the middle box which blurred the first and last box out with a soft effect, and the third photo's main focus was the last box which blurred out the first two boxed but not as well the the first apertures(f/8, f/16)
DSLR - “Digital Single Lens Reflex”
-Exposure is the amount of light collected by the sensor in your camera during a single picture. If the shot is exposed too long the picture will be washed out. If shot is exposes too short the pictures will be dark. -Most cameras have light meters which measures the light in the given shot and set an ideal exposure. Three primary controls used for exposure are aperture, shutter speed, and ISO. (consider before taking a photo) Aperture in a camera - Aperture is a hole within a lens through which light travels into the camera body Is is easier to understand the concept if you just think about our eyes, every camera that we know of today is designed like human eyes. - Size of Aperture - Large versus Small Aperture - Aperture is expressed in f-numbers( for example f5.6). These f-numbers are known as “f-stops” are a way of describing the size of the aperture, or how open or close the aperture is. - smaller f-stop means a larger aperture while a larger f-stop means a smaller aperture. (example, f/1.4 is larger than f/2.0..) - Aperture basics Smaller apertures(high f/numbers ie f/22) increase the depth of field, bringing both the main subject and background into focus. - Large apertures (low f/numbers ie f/2.8) soften background details. - Depth of field ( DOF) is the distance to which objects behind and in front of the focal point appear to be in focus. Shutter Speed - Known as “exposure time”, stands for the length of time a camera shutter is open to exposure light into the camera sensor. - If the shutter speed is fast, it can help to freeze action completely. - If the shutter speed is low, it can create an effect called “motion blur” where moving objects appear blurred along the direction of the motion. - Shutter speeds are measured in fractions of a second, when they are under a second For example ¼ means a quarter of a second, while 1/250 means one Two-hundred-and-fiftieth of a second or four milliseconds. - The rule of thumb for shutter speed - The slowest shutter speed for handheld photography is 1/60. Anything lower then that should either be on a tripod or on a straight, solid surface. - Any slower handheld shutter speed begins to get motion blur and your photograph may be out of focus ISO - ISO is the level of sensitivity if your camera to available light - The lower the ISO number, the less sensitive it is to the light, while a higher ISO number increases the sensitivity of your camera. - The component within your camera that can change sensitivity ss called “image sensor” or simply “sensor”. With increased sensitivity, your camera sensor can capture images in low-light environments without having to use flash. But higher sensitivity comes at an expense- it adds grain or “noise” to the pictures. - The General rule of thumb
M- Manual control over aperture and shutter A - Aperture Priority S- Shutter Priority P- Camera sets shutter speed and aperture How to hold a DSLR
|
AuthorMy name is Natalee, I am a senior at Rbv, and I enjoy taking photos. Archives
May 2017
Categories |
 RSS Feed
