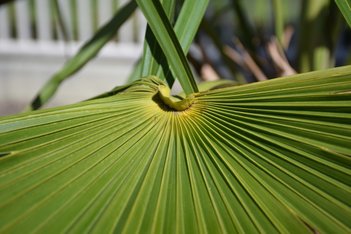
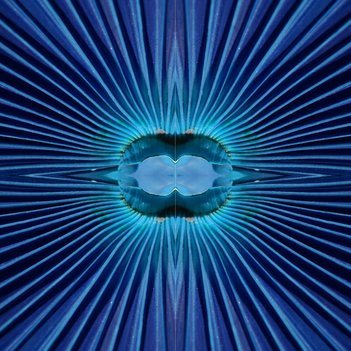
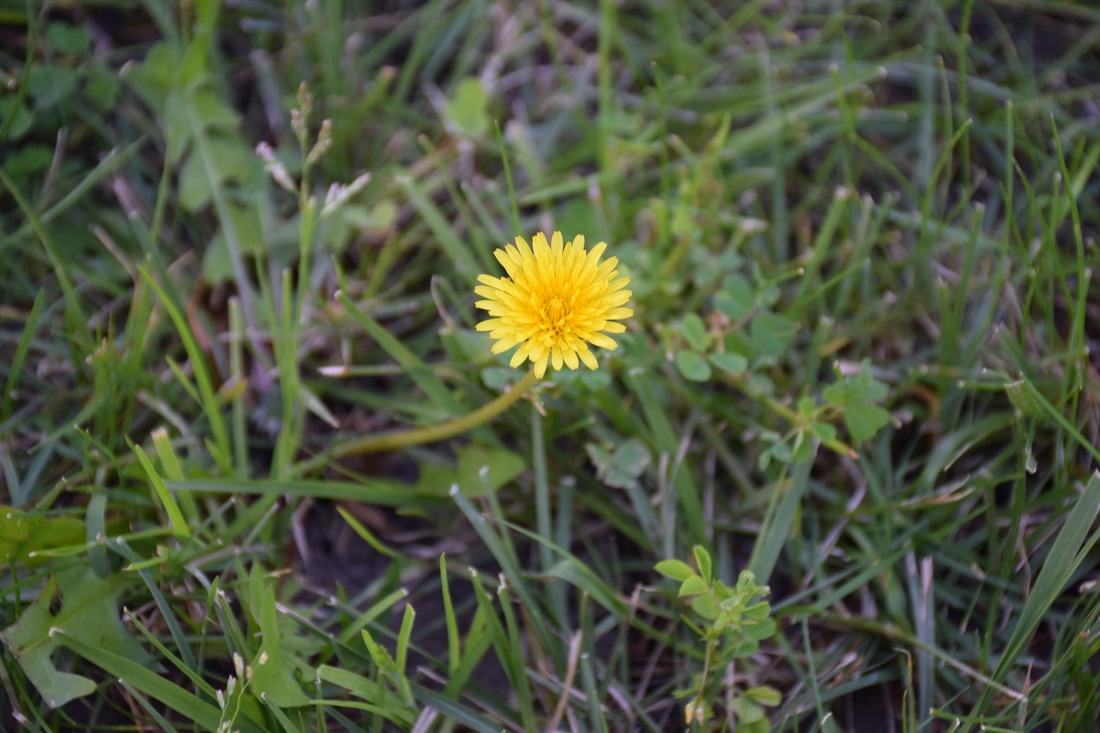
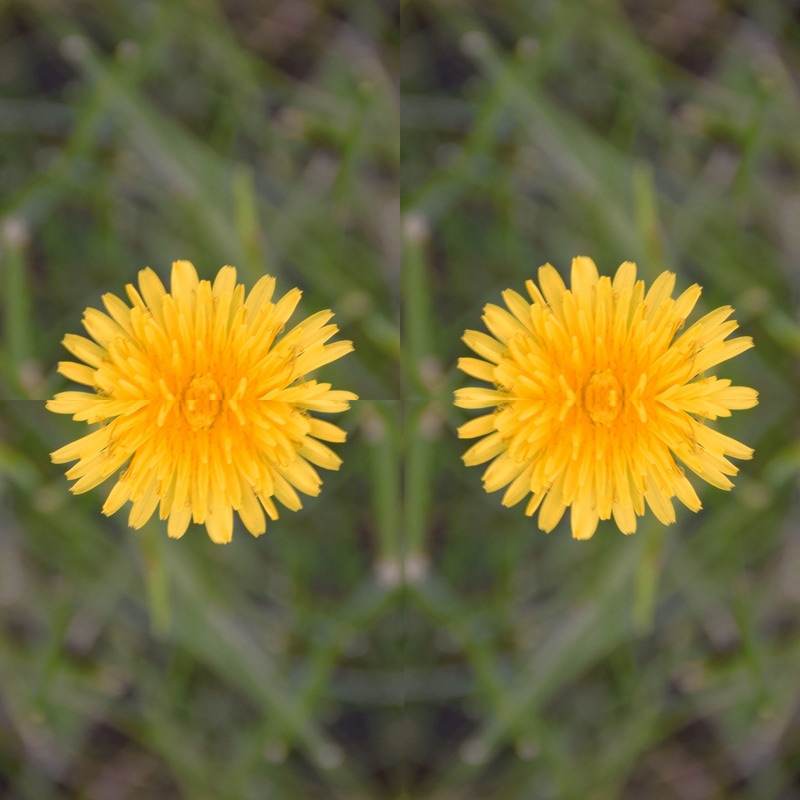
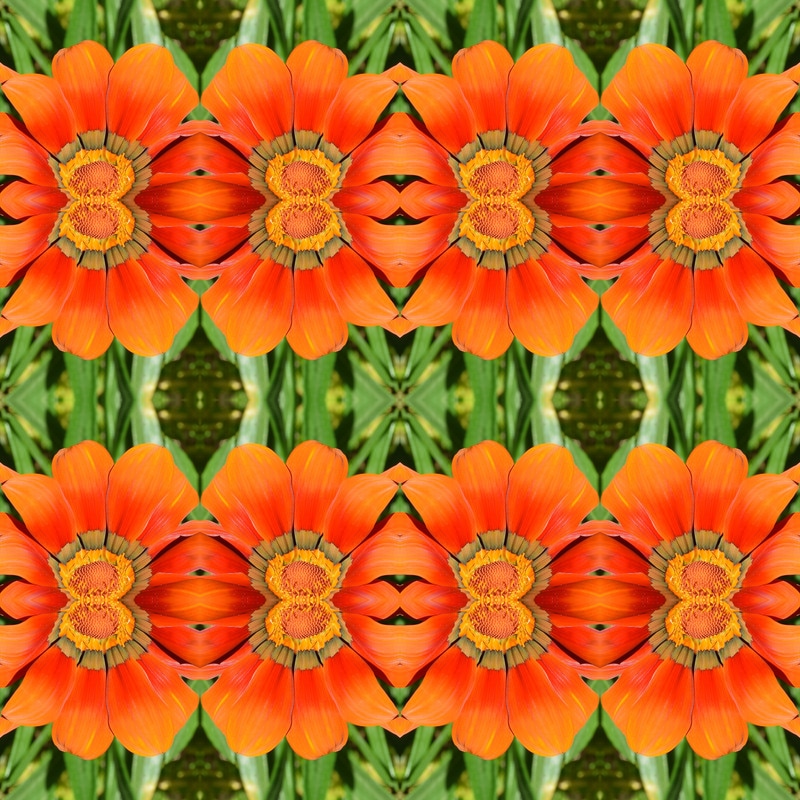
To me tessellations are multiple copies of photograph making a different, pretty photo of not just the original. The way that I created a tesellation was by opening up the Photoshop CS6 then creating a new document and put on a title, Then used the ruler tool and marked the inches onto the background. After that I opened up my photos and chose a photo that I thought would work good for the tessellations. Then I clicked onto the photo itself and cropped out a certain part of my image that I wanted to use and changes the image size and made sure the crop was 1x1 square. I then dragged out the photo that I had cropped out and placed it into the squares on photoshop. After that I placed it well into the square and duplicated the layer and placed it beside the original and did that over and over till all squares were filled. I liked that the results actually looked more cool than the original photos. My favorite image was my fourth tessellation. I struggled at first when my template was not the right size, it would come out bigger then what it was suppose to be. Overall it was a cool and fun project to do and If I would do anything differently I would chose better images to use for my tessellation.
0 Comments
Leave a Reply. |
AuthorMy name is Natalee, I am a senior at Rbv, and I enjoy taking photos. Archives
May 2017
Categories |


 RSS Feed
